
Car Detailing Basics You Can Do at Home
Why a Little Elbow Grease Goes a Long Way
Your car takes a beating every time you drive it. Sun, road grime, bug splatter, tree sap, and winter salt all work against the paint and the cabin. A professional detail can fix that, but it costs real money — and for the basics, you do not need one. With a handful of inexpensive supplies and one unhurried afternoon, you can wash, protect, and freshen your car at home well enough that neighbors will ask which shop you used. This guide walks you through it in plain English, with a printable checklist at the end.
Why Detailing Is About Protection, Not Just Looks
Most people treat detailing as cosmetic — something to do before a road trip or a trade-in photo. But regular washing and waxing does real protective work. The Car Care Council, a nonprofit that educates drivers about vehicle care, says the best defense against the damaging effects of acid rain is plain old washing and polishing. Think of the paint as the car's first line of defense. Once it wears through, moisture and road salt have an open path to bare metal.
There is a money angle too. Keeping up with basic care helps you spot small problems before they grow. Kelley Blue Book's maintenance guidance is blunt: putting off routine maintenance can lead to much more expensive repairs, so it pays to deal with warning signs — new noises, odd smells, or strange vibrations — right away. A weekly wash is also a built-in excuse to walk around the car, check the tires, and notice anything unusual while it is still a cheap fix.
What You Need: A Simple Starter Kit
You do not need a professional's arsenal. The basics fit in a small box, and most of it lasts for years. Here is what detailing guides and pros agree you should have:
-
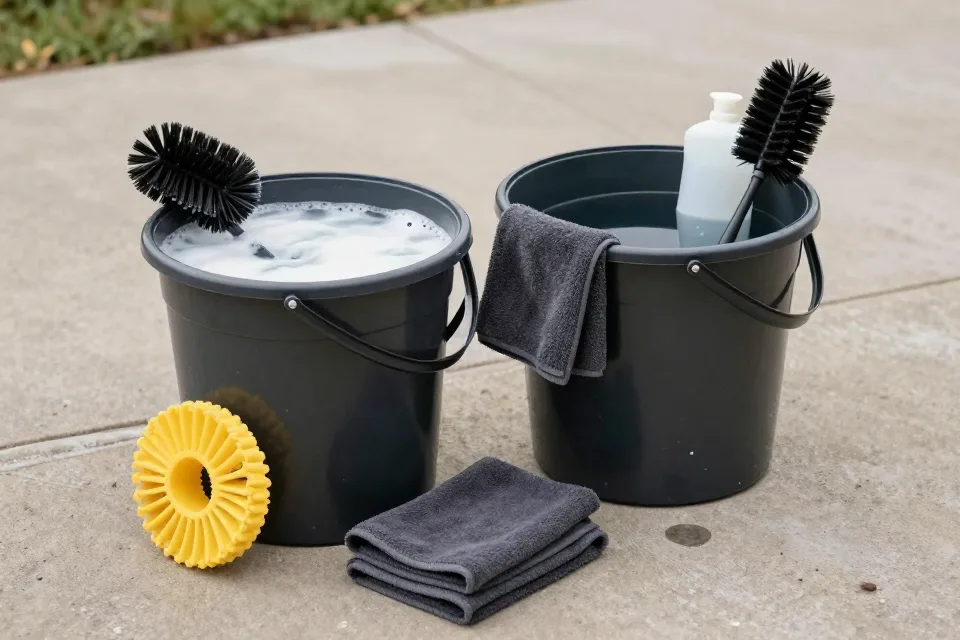
Two buckets — one for soapy water, one for rinsing your wash mitt. This is the heart of the two-bucket method that pros use.
-
Car wash soap — a shampoo made for cars. Household dish soap is too aggressive and can strip wax and damage paint.
-
A soft microfiber wash mitt — gentler on paint than a sponge.
-
A few microfiber drying towels.
-
A wheel brush and a separate set of towels for the wheels.
-
Glass cleaner, an interior cleaner, and wax or a paint sealant — the protection step most people skip.
The Two-Bucket Wash, Step by Step
The two-bucket method is simple: one bucket holds soapy water, the other holds plain water for rinsing your mitt. Detailers add a grit guard at the bottom of each bucket to trap the dirt that falls off the mitt. Here is the full routine:
-
Park in the shade and gather your supplies.
-
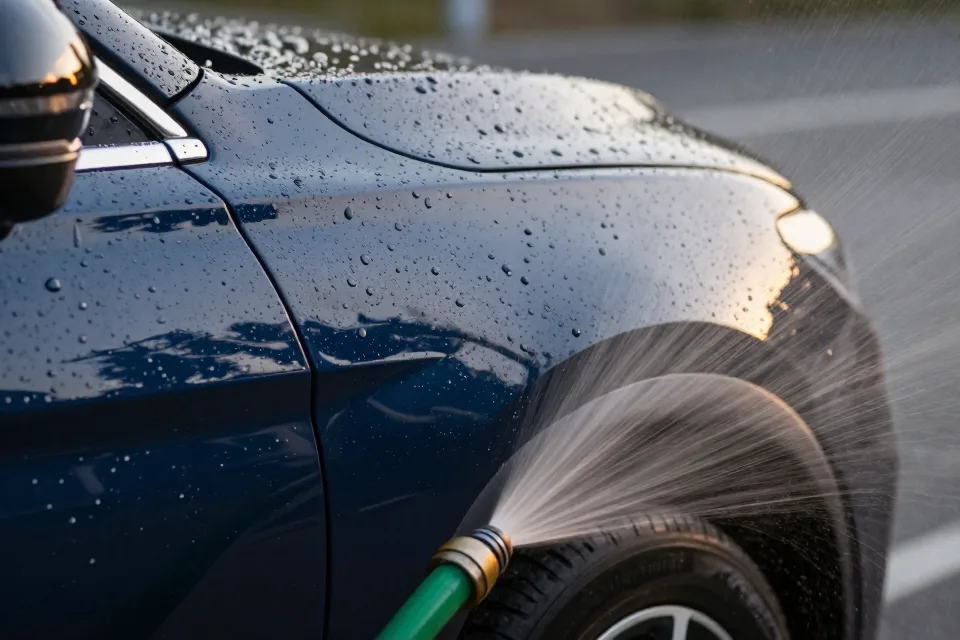
Rinse the whole car with the hose first — top, body, and underneath — so loose dirt comes off before your mitt ever touches the paint.
-
Wash from the roof down, panel by panel, using straight lines rather than circles.
-
After a panel or two, dunk the mitt in the rinse bucket and work it against the grit guard to release the dirt, then reload it with suds from the wash bucket.
-
Do the wheels last, using the wheel brush and the dedicated wheel towels.
-
Rinse everything thoroughly, then dry with a microfiber towel. Do not let the car air-dry; that leaves water spots.
How often should you do this? If you drive the car daily, wash it about once a week and wax it about once a month, per veteran detailers at Edmunds. That sounds like a lot, but a weekly wash with this method goes fast once you have the rhythm.
Inside the Cabin: The Interior Basics
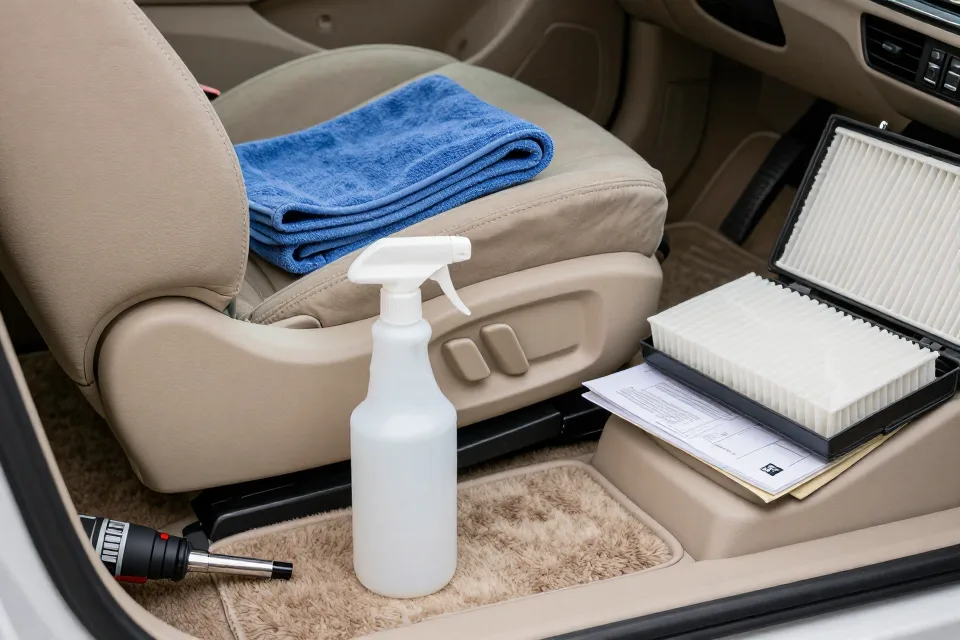
Interior cleaning comes down to two things: shade and order. Park in a cool, shady spot before you start, because heat makes cleaners dry too fast and leaves streaks. Then work from top to bottom:
-
Vacuum first — seats, carpets, floor mats, and the crevices where crumbs hide. Most of what you wipe off later is dust you could have vacuumed.
-
Wipe the dashboard, console, and door panels with an interior cleaner and a microfiber towel. Spray the towel, not the surface, so you do not fog the glass.
-
Clean the inside of the windows with a glass cleaner, and do the glass last, after the dust is gone.
-
Do not soak fabric seats. Light moisture is safer; heavy wetting can leave musty smells and stains that are hard to reverse.
Speaking of smells: if the cabin has a lingering musty odor, the Car Care Council says the culprit is often a dirty or clogged cabin air filter, and regular checks protect the heating and air-conditioning system while keeping passengers breathing easier. The cabin filter traps pollen, dust, and exhaust gases, and it keeps leaves and bugs out of the HVAC system — so it earns its keep.
Six Common Detailing Mistakes (and How to Avoid Them)
Even experienced DIYers make these errors. Here is what to watch for:
-
Washing in direct sun. Heat bakes soap and water onto the panels before you can rinse, leaving streaks and spots. Wash in the morning, in the evening, or in the shade.
-
Using dish soap. It cuts grease brilliantly — which is exactly why it strips your wax. Use a soap made for cars.
-
Scrubbing in circles. Circular motions create fine swirl marks that show up in sunlight. Wash in straight lines, front to back.
-
Using one bucket. Every time you dunk a dirty mitt into the only bucket, you put dirt back on the paint. The second rinse bucket is what keeps the wash scratch-free.
-
Forgetting the wheels. Wheels are the dirtiest part of the car, and brake dust is abrasive. Use separate brushes and towels, and never use a wheel towel on the paint.
-
Skipping the wax. Washing cleans the paint; wax protects it. Without a layer of wax, the finish has no defense against UV rays, acid rain, and bird droppings.
While You Are at It: Quick Checks That Save Money
A detailing session is the perfect time for a mini-inspection. All of these checks take seconds and can save real money:
-
Tire tread: slide a penny into the tread with Lincoln's head pointing down. If you can see the top of his head, the tread is worn to 2/32 of an inch — the point where NHTSA says tires are no longer safe and should be replaced.
-
Tire pressure: properly inflated tires can improve gas mileage by 0.6% on average, and up to 3% in some cases, according to the U.S. Department of Energy's fuel-economy guidance. Under-inflated tires cost you about 0.2% in fuel economy for every 1 psi drop across all four tires. Check with the number on the driver's doorjamb sticker — not the maximum printed on the sidewall.
-
Wiper blades: AAA says wiper blades should be replaced every 6 to 12 months, depending on your climate. Streaking and chattering are the usual clues.
-
Battery: car batteries typically last 3 to 5 years. AAA recommends checking the connections at every oil change and cleaning off corrosion, which disrupts the electrical flow. The Car Care Council adds a simple habit: test the battery every fall, and consider replacing it once it is three years old or more.
Will DIY Detailing Void Your Warranty?
No — and this worry has no basis in fact. Under federal law, a manufacturer or dealer cannot refuse to honor a warranty just because someone other than the dealer performed maintenance on the car, according to the Federal Trade Commission. A dealer would have to show that improper work actually caused the damage it refuses to cover. So washing, waxing, and cleaning your own car will not put your warranty at risk.
One practical note from the FTC: keep your records. Save receipts and notes for maintenance and repairs — oil changes, tire rotations, inspections — because the warranty company may ask for them, and a claim can be denied if you cannot show the car was properly maintained. A folder in the glove box or a notes app on your phone is enough.
Your Weekend Detailing Checklist
Print this list, tape it to the garage wall, and work through it at your own pace:
-
Park in the shade; gather two buckets, car soap, mitt, and towels.
-
Rinse the car top to bottom with the hose.
-
Wash roof to wheels, in straight lines, rinsing the mitt often.
-
Do the wheels last, with their own brush and towels.
-
Rinse and dry with microfiber towels.
-
Wax or seal the paint.
-
Vacuum the interior; wipe the surfaces; clean the glass.
-
Penny-test the tires and check the pressure.
-
Look at the wiper blades and battery terminals.
-
Note any new noises, smells, or warning lights — and act on them soon.
Start simple and stay consistent. A solid weekly wash beats an occasional show-quality detail, and your car — and your wallet — will thank you at trade-in time.
This article is for general information only and is not professional automotive, financial, or legal advice; see our full Disclaimer for details.
Sources
- [reference] https://www.edmunds.com/car-maintenance/confessions-of-car-detailers.html