
Cloudy Headlights: How to Make Them Clear Again
The Night You Notice
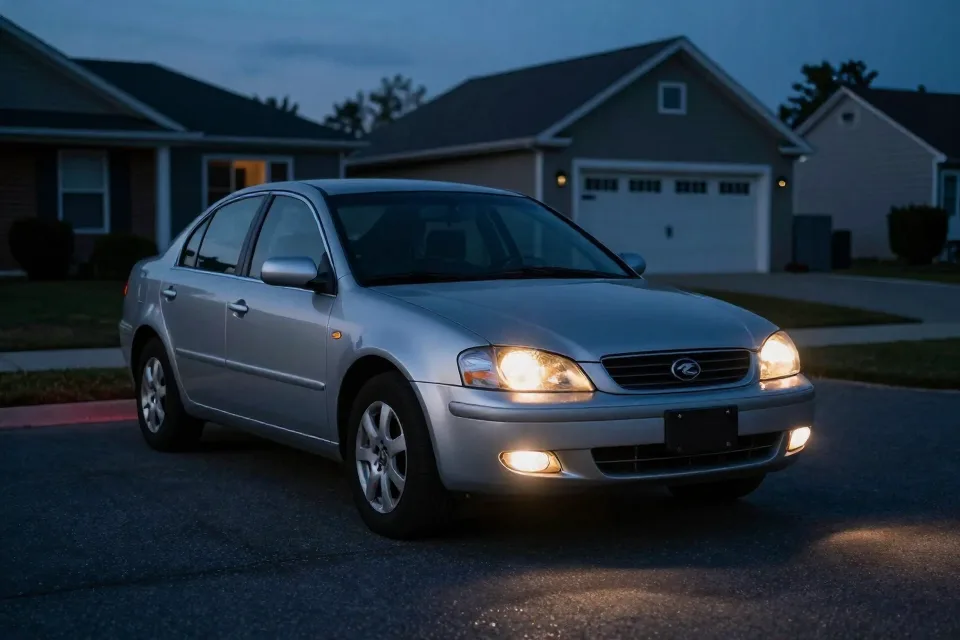
Here is a moment almost every driver over 45 recognizes: you pull out of the driveway after dark and realize the road ahead looks dimmer than it used to. The headlights are on — both of them — but the beam is weak and yellowed, and the light scatters instead of reaching down the road. The lenses that were crystal clear when the car was new now look frosted, like a shower door that has seen too many years. You are not imagining it, and you are not alone: nearly every car with plastic headlight lenses will develop this haze eventually. The good news is that it is one of the most fixable problems on an older vehicle — often in a single afternoon, for the price of a decent dinner. Here is how to make those cloudy headlights clear again, and keep them that way.
Why Headlights Turn Cloudy
Most cars built in recent decades use headlight lenses molded from polycarbonate, a tough, clear plastic. When the car leaves the factory, those lenses carry a protective coating that shields the plastic from the sun. Over years of ultraviolet light, road grit, and repeated washing, that coating wears thin — and once it is gone, the plastic underneath begins to oxidize.
AAA's automotive experts list the usual culprits: sunlight oxidizes the polycarbonate and leaves small yellow cracks; water vapor can slip past worn seals and condense inside the housing; thin films of dirt stick to the lens; and harsh weather can make the factory coating peel. Any of these alone can dull a lens — usually, several of them work together.
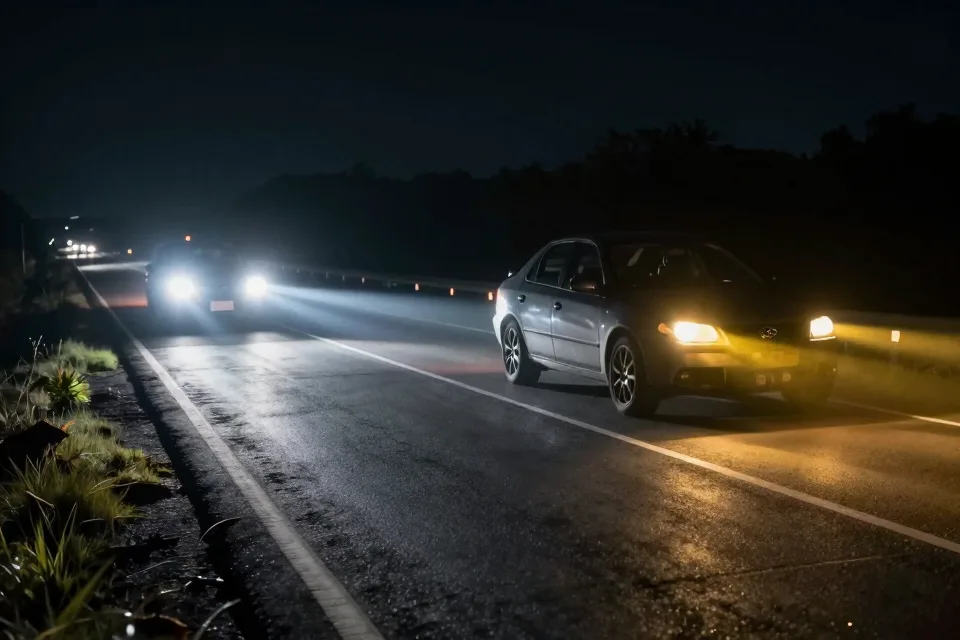
While the lens is slowly degrading, the stakes are quietly rising. The Insurance Institute for Highway Safety (IIHS) notes that about one in two traffic deaths happens in the dark or in the twilight of dawn or dusk. And even brand-new headlights have limits: the National Safety Council says that at night, even with high beams on, a driver can see only about 500 feet ahead — about 250 feet with normal low beams. At highway speed, that is less reaction time than most people assume, and a cloudy lens shrinks that distance further.
What Cloudy Lenses Really Cost You
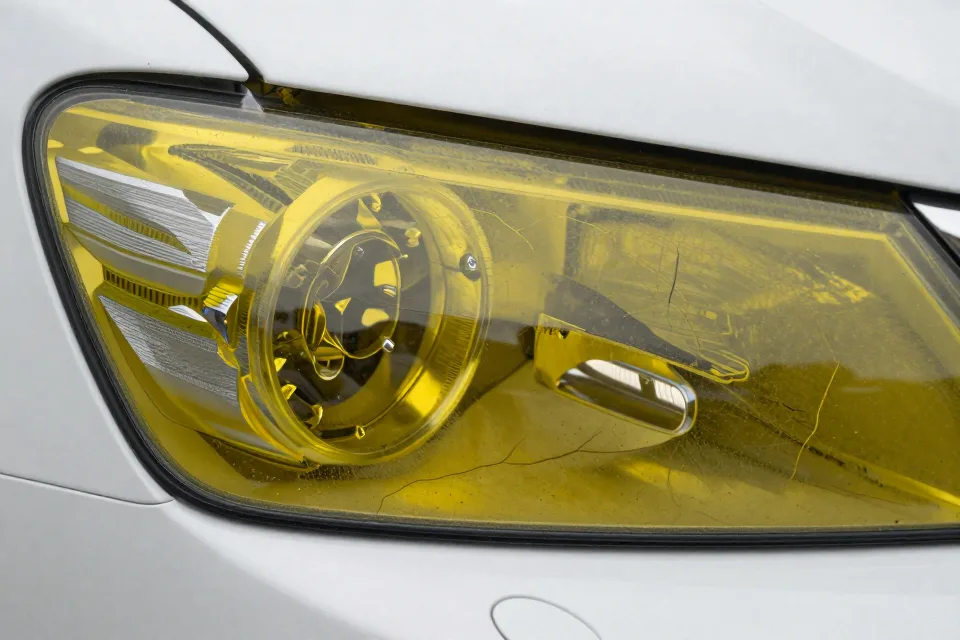
Researchers at IIHS compared crash records for vehicles whose headlights earned good ratings in the Institute's tests with vehicles rated poor. The good-rated lights were tied to 19% fewer nighttime single-vehicle crashes and 23% fewer nighttime pedestrian crashes. Haze and yellowing move your headlights the wrong way on that scale.
There is a human factor too, and it matters more as we get older. NHTSA notes that vision naturally declines with age, and drivers who notice changes in their night vision can adjust how and when they drive. Dimming lenses and aging eyes are a bad pairing.
The Car Care Council adds a simple rule: never out-drive your headlights. If you cannot stop within the distance your lights illuminate, you are driving into a blind spot. A cloudy lens encourages exactly that, because it cuts how far your beam actually reaches.
First, a 60-Second Diagnosis: Lens or Bulb?
Before you buy anything, figure out what is actually wrong. This daylight check takes about a minute:
-
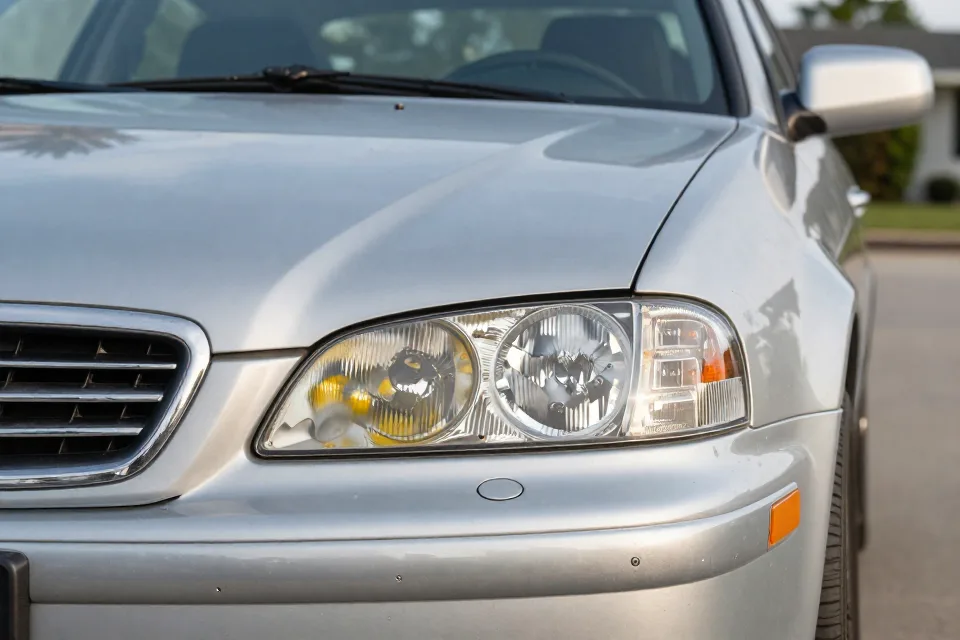
Look at the lens surface. If it feels rough or pitted, or looks yellowed and frosted, the plastic itself has oxidized — that is a lens problem.
-
Check both sides. If both lenses look the same and both beams are weak, the lenses are the likely culprit.
-
Test the high beams. If they look dramatically better than the low beams, the bulbs may simply be aging. The Car Care Council reminds drivers that lighting parts wear out with use and need periodic inspection and replacement — a dimming bulb is a sign to swap it.
-
Look for cracks or moisture. A cracked lens, or condensation trapped inside the housing, is a sign the headlight may need replacement rather than restoration.
And one free safety habit from the Car Care Council: when in doubt, turn your lights on. Clean, well-aimed headlights help you see — and help other drivers see you.
Three Ways to Fix Cloudy Lenses
Your options run from nearly free to several hundred dollars.
Home remedies — toothpaste, baking soda, WD-40. AAA lists these as quick do-it-yourself options, and they can lift light surface haze. But they only polish the outside of the plastic; they do not restore the UV protection the factory coating provided. The cloudiness typically returns, often within a couple of months, so treat them as a temporary brightening rather than a fix.
A restoration kit — about $10 to $25. Consumer Reports tested kits and found they work, noticeably improving nighttime visibility. Kits generally include an abrasive compound and sandpaper in several grades to remove the damaged outer layer of the lens, plus a polish and a protective coating — the same sand, polish, and seal recipe described at sites like Edmunds and Cars.com.
A shop, or replacement. Body shops and detailers restore lenses for a fee. And some cars are better served by new headlight assemblies: if the lens is cracked, or moisture keeps getting inside past broken seals, AAA's advice is that the headlight may need to be replaced. New assemblies can run several hundred dollars per side on newer vehicles, which is why restoration is usually the cheaper first move.
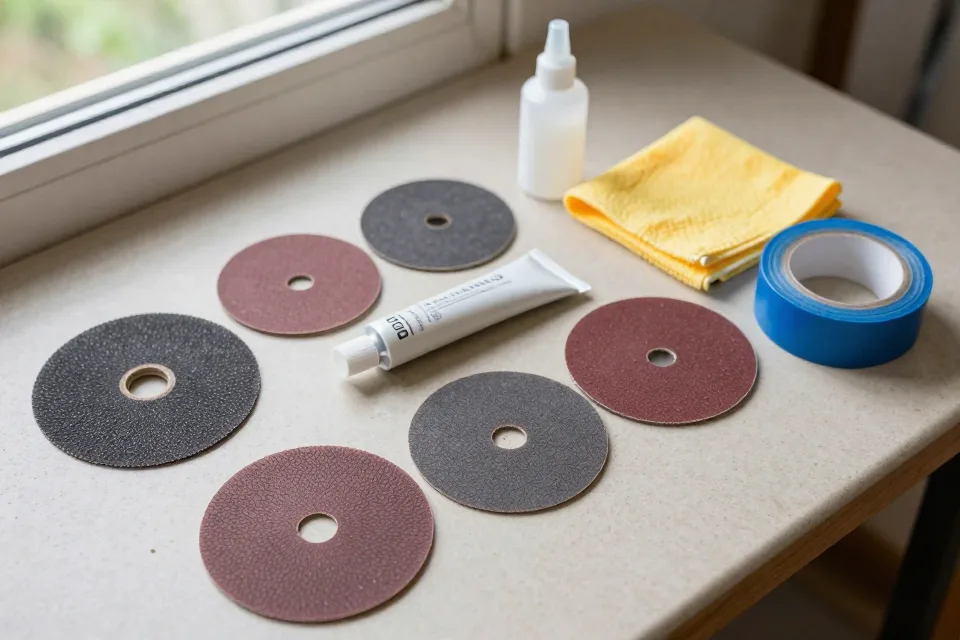
How to Restore Headlights with a Kit, Step by Step
The exact steps vary by kit, but the pattern is consistent across AAA, The Drive, and Consumer Reports' testers:
-
Wash and dry the lens. Remove the dirt and debris first, so you are sanding plastic instead of grinding grit into it.
-
Mask off the paint. Tape the edges of the headlight with masking tape so abrasives never touch the surrounding finish.
-
Wet-sand, starting coarse. Begin with the coarsest grit the kit provides — AAA suggests 400- or 600-grit — and sand in straight, overlapping lines. Keep the lens wet the whole time; dry sanding can damage the plastic.
-
Work through finer grits. Move up through 1000-, 2000-, and 3000-grit, spending a few minutes at each. The lens will look hazy between stages — that is normal; the haze is the fine scratches the next grit removes.
-
Rinse and dry completely. Any leftover grit or moisture will get sealed into the finish if you skip this step.
-
Polish. Use the kit's polish or rubbing compound to bring back optical clarity.
-
Seal — do not skip this step. The final coating protects the freshly exposed plastic from UV light. Consumer Reports' testers found the best kits finish with a UV-blocking coating, and it is the step that decides whether your work lasts months or a year or more. Apply coatings with gloves in a well-ventilated area, and let them cure before rain or a car wash touches the lens.
Plan on an hour or two for a careful job. Some kits promise a noticeable improvement in under half an hour, but a relaxed pace with clean technique beats speed.
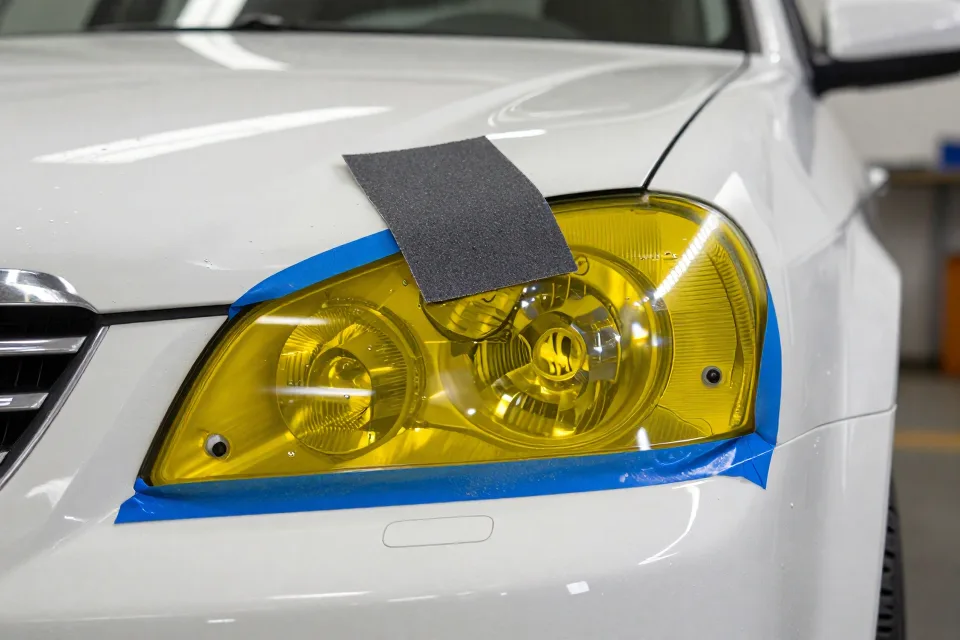
Six Common Headlight Restoration Mistakes
-
Skipping the sealant. Polishing is the satisfying part, but the protective coating is the part that makes the result last. Skip it, and the freshly exposed plastic starts oxidizing again within months.
-
Sanding dry. Water is not optional. It keeps the paper cutting smoothly and carries away plastic dust; dry sanding can scratch or heat-damage the lens.
-
Forgetting the tape. Sandpaper and buffing compounds do not care where your paint begins. Masking tape is cheap; a respray is not.
-
Using a drill kit carelessly. Drill-attachment kits remove material fast, but they can also gouge the lens and scratch adjacent paint if the drill wanders. Consumer Reports notes these kits call for a steady hand and careful masking.
-
Expecting toothpaste to last. It can brighten a mildly hazy lens for a while, but it adds no UV protection, so the haze comes back — and on badly oxidized lenses it barely registers.
-
Restoring only one side. The car will look odd in daylight and the beams will differ at night. Do both lenses, and note the date so you know when to refresh them.
Keep Them Clear Longer
Once your lenses are clear, you can slow the next round of oxidation. AAA's prevention advice is simple: park under cover when you can, because the sun's UV rays are the main engine of oxidation; wash the car regularly so dirt and chemicals do not sit on the lenses; and give the lenses a light sanding every few months to wipe away buildup before it becomes a problem. Also check the weather seals around the housings — if moisture is getting inside, no amount of polishing will help, and the headlight may need replacing.
Your Headlight Checkup Checklist
Print this list and keep it with the car's paperwork:
-
Compare both lenses in daylight; look for yellowing, haze, pitting, or cracks.
-
Check for moisture or condensation inside the housings.
-
Clean the lenses and see how much clarity returns.
-
If restoring: wash, tape, wet-sand coarse to fine, rinse, polish, seal.
-
Swap dim or burned-out bulbs — lighting parts are wear items.
-
Confirm the headlights are aimed properly; misaimed lights blind other drivers and shorten your own sight distance.
-
Turn your lights on whenever visibility is doubtful.
-
Write the restoration date on the checklist and plan to refresh within about a year.
Cloudy headlights are not a sign that your car is past its prime. They are a maintenance item — like wiper blades and tires — and one you can handle yourself on a Saturday afternoon. The payoff is a safer night drive and a car that looks years younger.
This article is for general information only and is not professional automotive, financial, or legal advice; see our full Disclaimer for details.
Sources
- [authority] https://www.iihs.org/research-areas/headlights