
How to Winterize an RV the Right Way
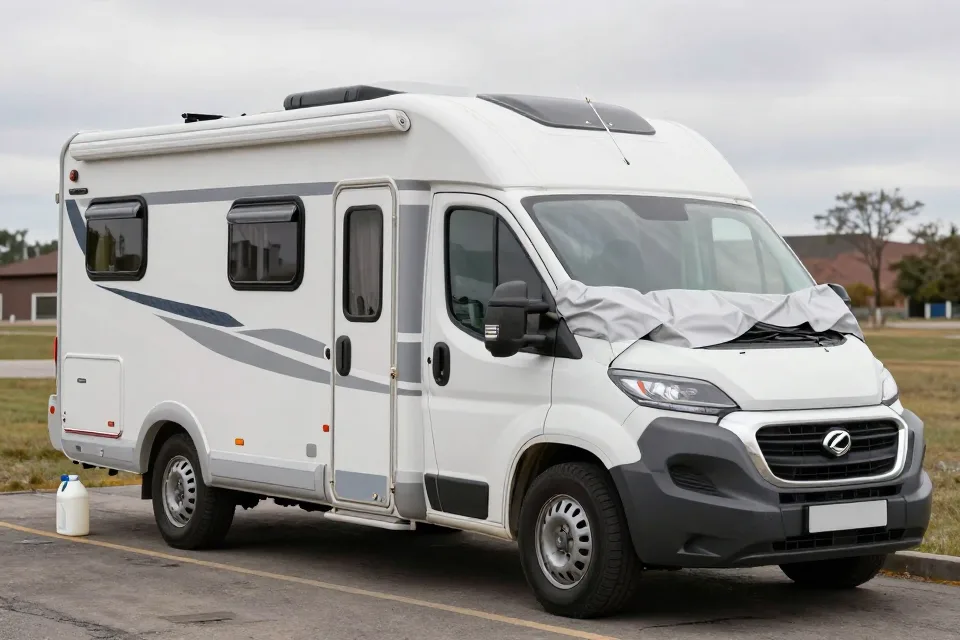
The first hard freeze does not announce itself. One night the temperature dips below 32°F, and by morning a camper that seemed fine has a cracked water line, a split pump, or a puddle spreading under the cabinets. Winterizing is the seasonal job that keeps that from happening, and it takes one afternoon and a short list of supplies.
This guide walks through the whole process in plain order: drain the water, protect the plumbing, then look after the battery, tires, propane, and body of the rig. Keep your owner's manual close, because it holds model-specific details no general guide can cover.
Why Winterizing Matters
Water does something unusual when it freezes: it expands, gaining about 9 percent in volume. Inside a closed pipe there is nowhere for that growth to go, so pressure builds until a fitting cracks or a line splits. A burst water line can soak the walls, floors, and insulation of an RV in a single cold night.
Winterizing removes the risk by removing the water. Anything that cannot be drained gets filled with RV antifreeze, a liquid that stays fluid at temperatures far below freezing. Do the job once, before the first hard freeze, and the rig stays safe until spring.
What You Will Need
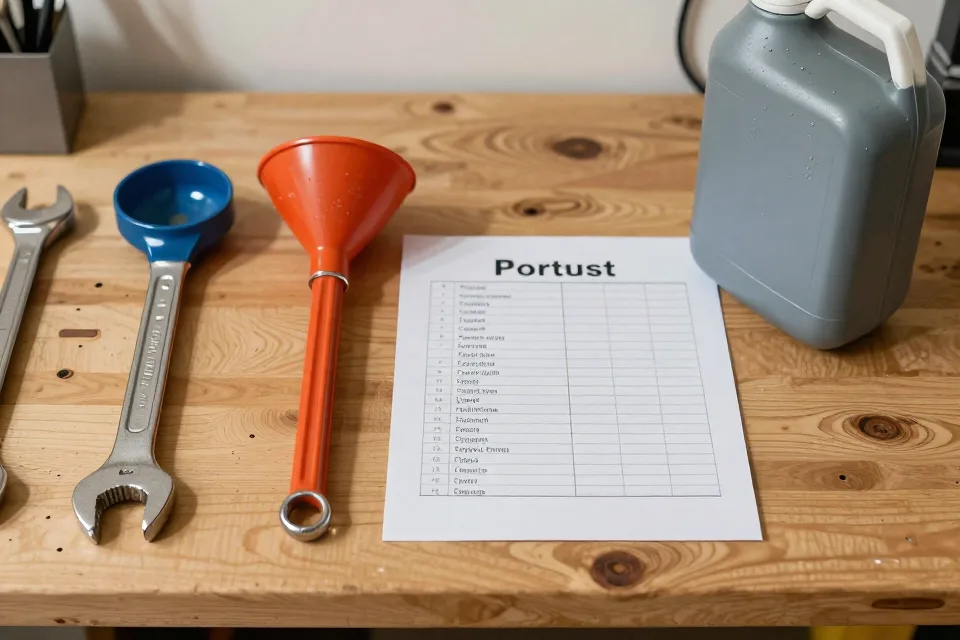
Gather everything before you start so you are not running to the store mid-project.
-
RV antifreeze. The pink, non-toxic kind made for potable water systems. Plan on two to three gallons for a typical travel trailer.
-
Wrenches or a socket set. For the water heater drain plug and anode rod.
-
A bucket, towels, and a small cup. For draining, catching spills, and pouring antifreeze down drains.
-
An air compressor with a blowout plug (optional). For blowing the lines dry before antifreeze goes in.
-
A battery maintainer or trickle charger. To keep the house battery healthy all winter.
-
A tire pressure gauge. For the inflation checks in Step 4.
-
Fuel stabilizer. For motorhomes going into storage.
Step 1: Drain Every Drop of Water
Start with the waste tanks. Empty and rinse the black and gray tanks, then close their valves. The RV Industry Association advises emptying them before winter and adding about a quart of RV antifreeze to protect whatever water remains.
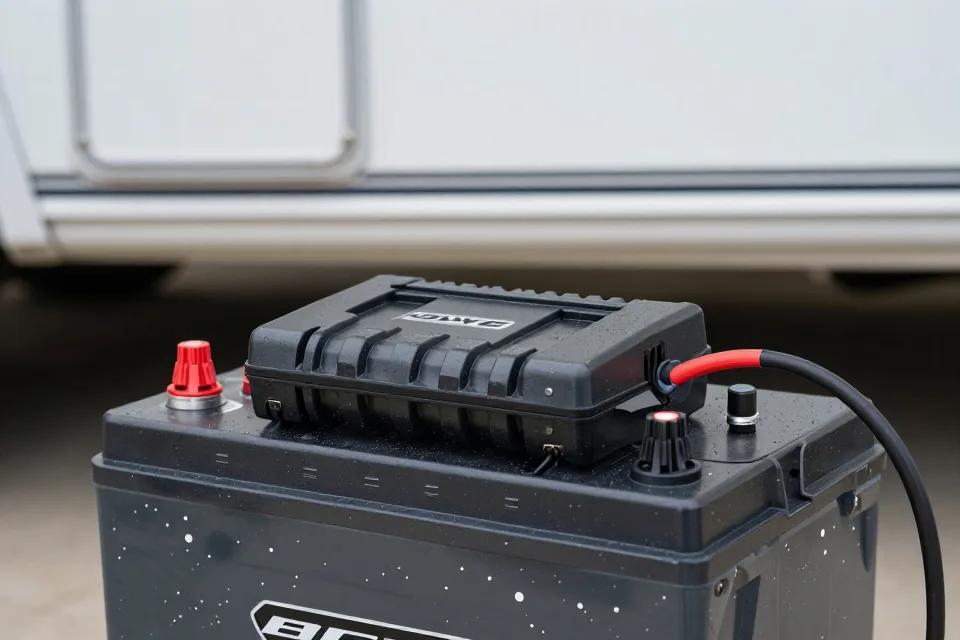
Next, drain the fresh water tank. Open the low-point drains — the lowest valves in the plumbing, usually underneath the RV — so the lines empty by gravity. Open every faucet, hot and cold, and flush the toilet until the flow stops. AAA's RV winterization guide calls out the low-point drains on both the hot and cold sides.
Turn off the water heater and let it cool before you touch it. Drain it completely — many units have a drain plug or anode rod you remove — then switch it to bypass mode so the antifreeze you add later flows around the tank instead of into it. A water heater holds several gallons, and filling it with pink antifreeze just wastes product you will flush out in the spring.
Remove any water filter cartridge so it does not freeze and crack, and store it somewhere that stays above freezing.
Step 2: Pump in the Pink
Now the plumbing gets its winter coat. Use only RV antifreeze labeled for potable water systems — the propylene glycol or ethanol-based kind that is safe for drinking-water lines. Most of these products protect pipes down to about −50°F when used at full strength.
Never pour automotive antifreeze into your RV. It is made with ethylene glycol, which is toxic to people and pets and corrosive to RV plumbing.
To push antifreeze through the system, feed it into the pump side. Many rigs have a winterizing valve or a siphon kit you attach to the water pump inlet. With the fresh tank empty, switch the intake to the antifreeze jug, turn on the 12-volt pump, and open each faucet one at a time — hot side, then cold — until pink runs out in a steady stream. Work through the bathroom sink, the shower, the toilet, and any outdoor shower or spray port.
Finish by pouring about a cup of antifreeze down each sink and shower drain so the P-traps stay protected, and leave some in the toilet bowl to keep the seal moist.
Step 3: Give the Battery a Break
Cold drains battery power. A typical lead-acid battery delivers only about 80 percent of its rated capacity at 32°F and roughly half at 0°F. A fully charged battery can survive temperatures far below anything most of the country sees, but a discharged battery can freeze solid around 20°F and be ruined.
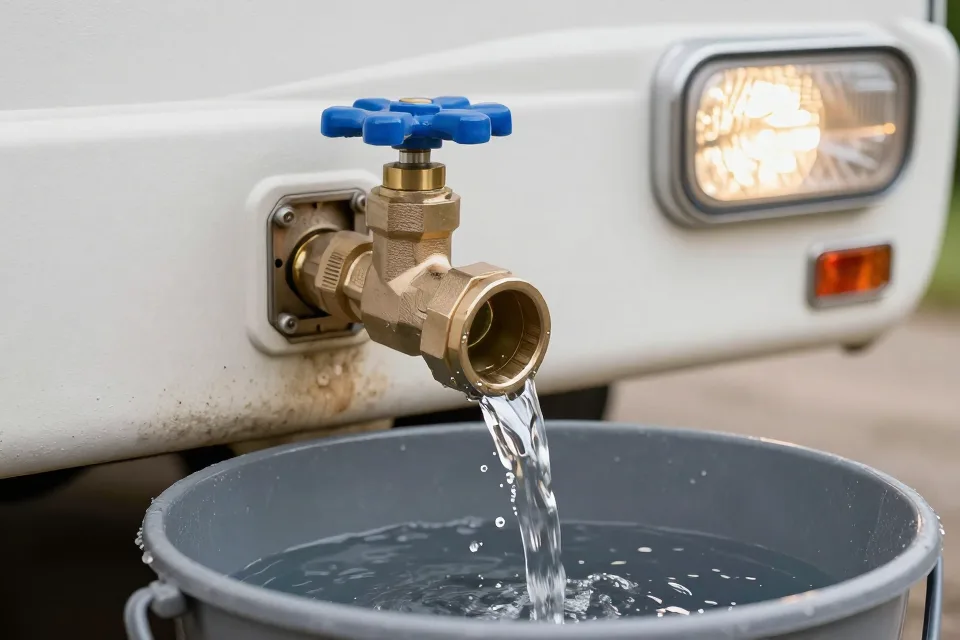
Charge the battery fully, then disconnect it for the winter — or keep it connected to a maintainer that tops it off without overcharging. AAA recommends disconnecting the battery and storing it somewhere warm and dry.
Step 4: Tend the Tires
Your tires sit in the cold right along with everything else, and cold air contracts. As a rule of thumb, tire pressure drops about 1 psi for every 10°F the temperature falls.
Before storage, inflate every tire — spare included — to the pressure on the placard on the driver's door frame or in the owner's manual. That is the number to trust, not the maximum pressure molded into the sidewall. Check the pressure when the tires are cold, which means letting the RV sit for three hours or more first.
For a long storage season, some owners raise the RV on jack stands to keep weight off the tires and suspension. If you leave it on its tires, at least keep them inflated to spec and check them again before you drive in spring.
Step 5: Shut Down Propane Safely
Close the valves on your propane tanks for the season. Portable cylinders should be stored upright with the valves fully closed, the same rule the LP-gas code — NFPA 58 — applies to stored containers.
While you are at it, check the carbon monoxide alarm near the sleeping area and replace the battery if needed. Fire-safety standards for recreational vehicles (NFPA 1192) address carbon monoxide detection, and fire departments recommend at least one working CO alarm near where people sleep, tested regularly.
Step 6: Motorhome Engine and Fuel
If your RV is a motorhome, its engine needs the same long-storage care as any car. Fill the fuel tank and add a fuel stabilizer so the fuel does not degrade while the rig sits; Edmunds recommends a stabilizer for any vehicle stored more than about 30 days. Run the engine long enough to circulate the treated fuel, then park it.
Step 7: Seal Up and Store
Walk around the outside and check the caulking and seals around windows, doors, vents, and the roof. Fresh seals keep snow and rain out and close the gaps mice and other pests use to get inside. Cover exterior vents so ice and critters cannot enter.
Inside, empty the refrigerator, wipe it down, and prop the doors open a crack so mold cannot get a foothold. Remove food, bedding, and anything else that holds moisture.
AAA also suggests inspecting the roof before winter, because a small leak becomes a much bigger problem under a load of snow and ice.
Finally, protect the outside. A fitted RV cover or a sturdy tarp sheds snow and shields the paint and seals from sun and ice. At minimum, park in the most sheltered spot you can.
Common Winterizing Mistakes
Even experienced owners slip up now and then. These are the mistakes that cause the most springtime surprises.
-
Skipping the water heater bypass. The water heater is the biggest reservoir in the rig. Forget to drain and bypass it and you leave gallons of water behind.
-
Using car antifreeze. Ethylene glycol is toxic and corrosive. Only the pink, potable-water kind belongs in RV plumbing.
-
Forgetting the P-traps and toilet. They hold water even after you drain the tanks. Antifreeze in each drain handles them.
-
Waiting for the first freeze. By the time ice forms, the damage may already be done. Winterize while overnight lows are still above freezing.
-
Leaving the battery connected. Small electrical draws drain it all winter, and a dead battery can freeze and crack.
-
Skipping the spare tire. It gets cold too, and you will want it ready in spring.
-
Trusting the label 'four-season.' Insulation for living comfort is not the same as plumbing that shrugs off freezing. If you have any doubt, winterize.
-
Ignoring the outdoor shower and spray ports. They are easy to forget and full of water.
Your Pre-Winter Checklist
Run through this list when the job is done. Anything you cannot check off is worth a second look.
-
Black and gray tanks emptied, rinsed, and valves closed
-
Fresh water tank drained
-
Water heater off, drained, and on bypass
-
Low-point drains opened and drained
-
Pink antifreeze running from every hot and cold faucet
-
Antifreeze poured down every drain and into the toilet
-
Battery charged, disconnected, and stored or on a maintainer
-
Tires inflated to the door-placard pressure, spare included
-
Propane tank valves closed
-
Carbon monoxide alarm tested
-
Fuel tank filled and stabilized (motorhomes)
-
Seals and caulking checked, vents covered
-
Refrigerator cleaned with doors propped open
-
RV covered or parked out of the weather
One Last Thing
An afternoon of preparation now saves a repair bill in spring — and keeps the first trip of the season from starting with a surprise. Keep this checklist handy, follow your owner's manual, and when the snow melts you will be glad you did the work.
This article is for general information only and is not a substitute for your RV manufacturer's instructions. See our full disclaimer for details.
Sources
- [authority] https://www.nhtsa.gov/winter-driving-tips